How to apply press on nails – A step-by-step guide
In the world of beauty and self-care, perfectly manicured nails are a symbol of elegance and confidence. While some may opt for regular trips to the nail salon, others prefer the convenience and cost- effectiveness of press on nails.
Today, press-on nails offer a quick and easy way to achieve salon-worthy nails at home.
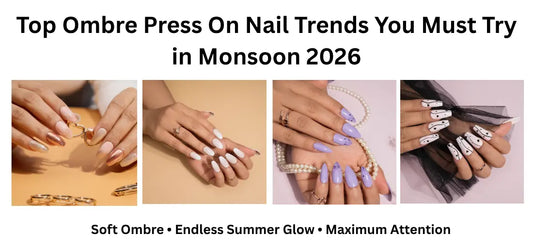
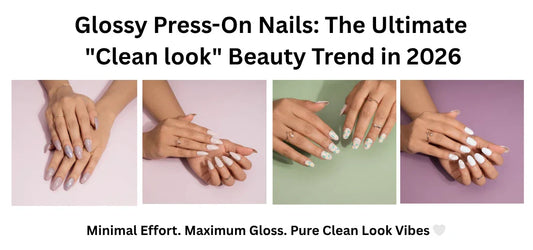
Customization is one of the biggest trends in Press on nails. Press-on nails, available in various colours, patterns, and textures, enable you to craft a unique, personalized look that mirrors your style. Additionally, the Nailknack press on nail brand offers customizable options, allowing you to choose your nails’ length, Shape and design. Nailknack has over 200 designs for you to choose from. In this comprehensive guide, we’ll walk you through the steps to apply press-on nails flawlessly, ensuring your hands always look their best.
1. Gather Your Supplies
Gathering all the necessary supplies is essential before diving into the world of press-on nails. Here’s what you’ll need:
- Press-on nails in your preferred style and size
- Nail glue or adhesive tabs
- Nail file or Nail buffer
- Cuticle pusher
- Rubbing alcohol or Nail polish remover (if you’re removing old polish)
- Cotton balls or pads
Nailknack provide you a Free Application kit with every Nail Set you purchase. This kit includes everything you need to apply press on nails. It includes 20 nails for both your hands, so you can find your perfect size, Nail Glue, Nail Glue tabs or adhesive tabs, Nail filer/buffer, Cuticle Pusher.
2. Prep Your Natural Nails
Take a cotton ball and wipe your nails with nail polish remover. Once your nails are polish-free, please wash your hands with soap and water to ensure they’re clean and free from oils or residue. Dry your hands thoroughly.
3. Shape and Buff Your Nails
Using a nail file, shape your natural nails to your desired length and Shape. Whether you prefer a classic square or trendy almond Shape, make sure your nails are uniform and small in size and Shape. After shaping, gently buff the surface of your nails to create a smooth canvas for the press-on nails.
4. Push Back Your Cuticles
A cuticle pusher or orangewood stick is the best way to push your cuticles back gently. This step helps create a clean and neat base for the press-on nails to adhere to.
5. Cleanse with Rubbing Alcohol
To ensure maximum adhesion, cleanse your natural nails with rubbing alcohol or nail polish remover. It removes any remaining oils and provides a strong bond between your nails and the press-on nails.
6. Select and Apply Press-On Nails
It’s time to select the press-on nails that best fit your natural nails. Carefully apply a small amount of nail glue to the back of the press-on nail, or use adhesive tabs if they come with your set. Press the nail onto your natural nail, holding it in place for a few seconds to allow the adhesive to bond securely. Repeat this process for all your nails, working one hand at a time. Make sure you press the nails at 45 degree angle, making sure there are no bubble when you glue the nails. This will make you stick on nails last longer.
7. Trim and Shape Press-On Nails
Once all the press-on nails are applied, Shape and trim them to your desired length and style with a nail file, only if needed. Be gentle and precise to achieve a polished look.
8. Maintain and Enjoy
With your press-on nails beautifully applied, it’s important to maintain them. Avoid excessive exposure to water, and be gentle when using your hands for tasks that may stress your nails. When you’re ready to remove them, follow the instructions on how to remove on our next blog for safe removal.
Applying press-on nails is a skill that, with practice, can help you achieve stunning and professional- looking nails at home. By following these step-by-step instructions and taking good care of your press-on nails, you’ll be able to enjoy the beauty and convenience they offer. So, go ahead, pamper yourself, and confidently flaunt your perfectly polished hands!
Tags:
Previous
Press On Nails: Quality, Durability, and Affordability
Next
How to Remove Press on Nails Easily and Safely